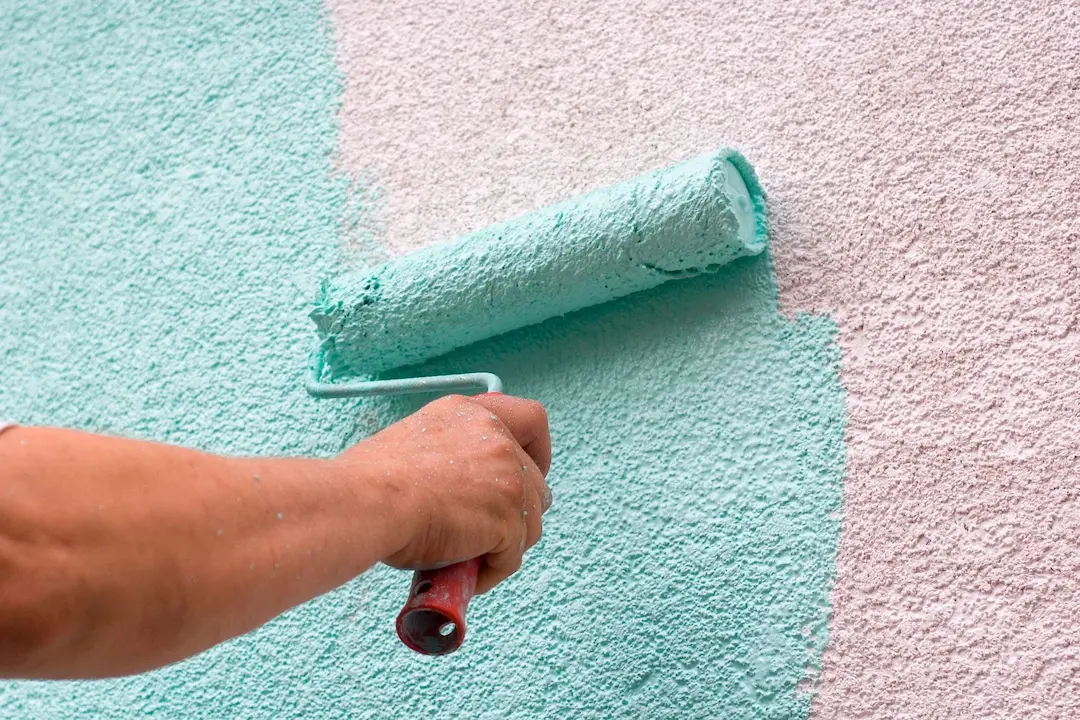
Our team of exterior painting specialists at WeatherGuard is well-equipped to address your stucco painting and repair requirements. Bid farewell to bulging stucco, cracks, and unsightly brown streaks. We will utilize our expertise to replace any damaged exterior elements and restore your home to its former glory in a timely manner. Prioritizing personalized customer service, our locally-owned and operated team will collaborate with you to identify the necessary stucco repairs for your home, all at an affordable price. Restoration Cracks often develop as a result of the gradual shifting of your building and the changing weather conditions over the seasons. Improper lath fitting and an incorrect stucco mixture can also contribute to cracking. Our skilled experts from WeatherGuard are adept at assessing various types of cracks and determining their root causes. We diligently repair all cracks in the stucco surfaces to enhance their stability.
Our Process
-
1. Examination & repairs
-
1a. Comprehensive exhamination
Conducting a comprehensive examination to assess the state of the underlying surfaces
and identify necessary preparation work is crucial. A detailed strategy is developed
to ensure the successful completion of the entire project.

-
1b. Perform repairs
Properly repaired stucco or exterior surfaces are vital for the coating to adhere
effectively. Our team of Exterior Specialists are well-versed in stucco exteriors
and are skilled in bonding, sealing, and safeguarding them.
-
1c. Sanding & scraping
Any loose paint, stucco, or debris is eliminated through scraping, with any remaining
residue being hand- or machine-sanded.
-
2. Application & finish
-
2a. Caulking
Following the completion of scraping and sanding the surfaces, any cracks or small
holes in the substrate are filled, and caulking is applied around all windows and
door casings to mitigate the infiltration of moisture into the coating through these
regions.
-
2b. Masking
All sections not intended for coating are meticulously masked off, covered, or
temporarily detached (e.g., lighting fixtures, utility boxes, etc.). Particularly
careful consideration is directed towards safeguarding plants, turf and grass ,
patio decks, windows, and other susceptible areas from overspray.

-
2c. Priming
Prior to applying the Finish Coat, all substrate areas are initially treated with a
primer. Subsequently, our exclusive WeatherGuardian Coat is applied to serve as a
bonding agent, ensuring the longevity of the Finish Coat without the risk of
cracking or peeling.
-
2d. Finish coat
Finally, following the conclusion of all preparation tasks and priming, the
exclusive Weather Guard Elastomeric or paint coating is applied.
-
3. Touch up & clean up
-
3a. Final touch ups
Upon the completion of the final finish coat application, meticulous touch-ups are
conducted on exterior elements such as windows, popouts, attention areas etc.,
followed by the removal of all masking materials.
-
3b. Job site cleanup
Weatherguard takes immense satisfaction in providing each client with a
comprehensive, meticulous, and precise cleanup to restore the site to its original
state. We leave it better than we found it.

-
3c. Final walkthrough
The project will not be considered complete until you are fully satisfied with the
work that has been done. A representative from Weatherguard will walk the project
with you, to insure you are 100% satisfied with the end results.
-
And that's it!
Enjoy your newly protected home!
Call now for a FREE quote
1. Examination & repairs
-
1a. Comprehensive exhamination
Conducting a comprehensive examination to assess the state of the underlying surfaces and identify necessary preparation work is crucial. A detailed strategy is developed to ensure the successful completion of the entire project.

-
1b. Perform repairs
Properly repaired stucco or exterior surfaces are vital for the coating to adhere effectively. Our team of Exterior Specialists are well-versed in stucco exteriors and are skilled in bonding, sealing, and safeguarding them.
-
1c. Sanding & scraping
Any loose paint, stucco, or debris is eliminated through scraping, with any remaining residue being hand- or machine-sanded.
2. Application & finish
-
2a. Caulking
Following the completion of scraping and sanding the surfaces, any cracks or small holes in the substrate are filled, and caulking is applied around all windows and door casings to mitigate the infiltration of moisture into the coating through these regions.
-
2b. Masking
All sections not intended for coating are meticulously masked off, covered, or temporarily detached (e.g., lighting fixtures, utility boxes, etc.). Particularly careful consideration is directed towards safeguarding plants, turf and grass , patio decks, windows, and other susceptible areas from overspray.

-
2c. Priming
Prior to applying the Finish Coat, all substrate areas are initially treated with a primer. Subsequently, our exclusive WeatherGuardian Coat is applied to serve as a bonding agent, ensuring the longevity of the Finish Coat without the risk of cracking or peeling.
-
2d. Finish coat
Finally, following the conclusion of all preparation tasks and priming, the exclusive Weather Guard Elastomeric or paint coating is applied.
3. Touch up & clean up
-
3a. Final touch ups
Upon the completion of the final finish coat application, meticulous touch-ups are conducted on exterior elements such as windows, popouts, attention areas etc., followed by the removal of all masking materials.
-
3b. Job site cleanup
Weatherguard takes immense satisfaction in providing each client with a comprehensive, meticulous, and precise cleanup to restore the site to its original state. We leave it better than we found it.

-
3c. Final walkthrough
The project will not be considered complete until you are fully satisfied with the work that has been done. A representative from Weatherguard will walk the project with you, to insure you are 100% satisfied with the end results.
-
And that's it!
Enjoy your newly protected home!
